
Latest trip..

For my first post I was thinking of the story behind my favourite ever image I’ve taken on the bank…. but after editing these shots of a recent trip I thought this would be more fitting. (I will tell that story eventually though…)
In short, I cocked up!
Before I start let me just note, I intend on this blog being readable by all levels of photographers. However, some posts maybe more orientated towards complete beginners and some the more seasoned photographer, so If you’re lost when reading this post and have no clue what certain phases or settings mean, don’t leave and never come back…. not all posts will be like that. Plus, I’ll be including loads of tutorials in the future to help those wishing to learn, so one day you’ll be able to read every post knowing exactly what’s going on….. well, that’s my goal anyway 🙂
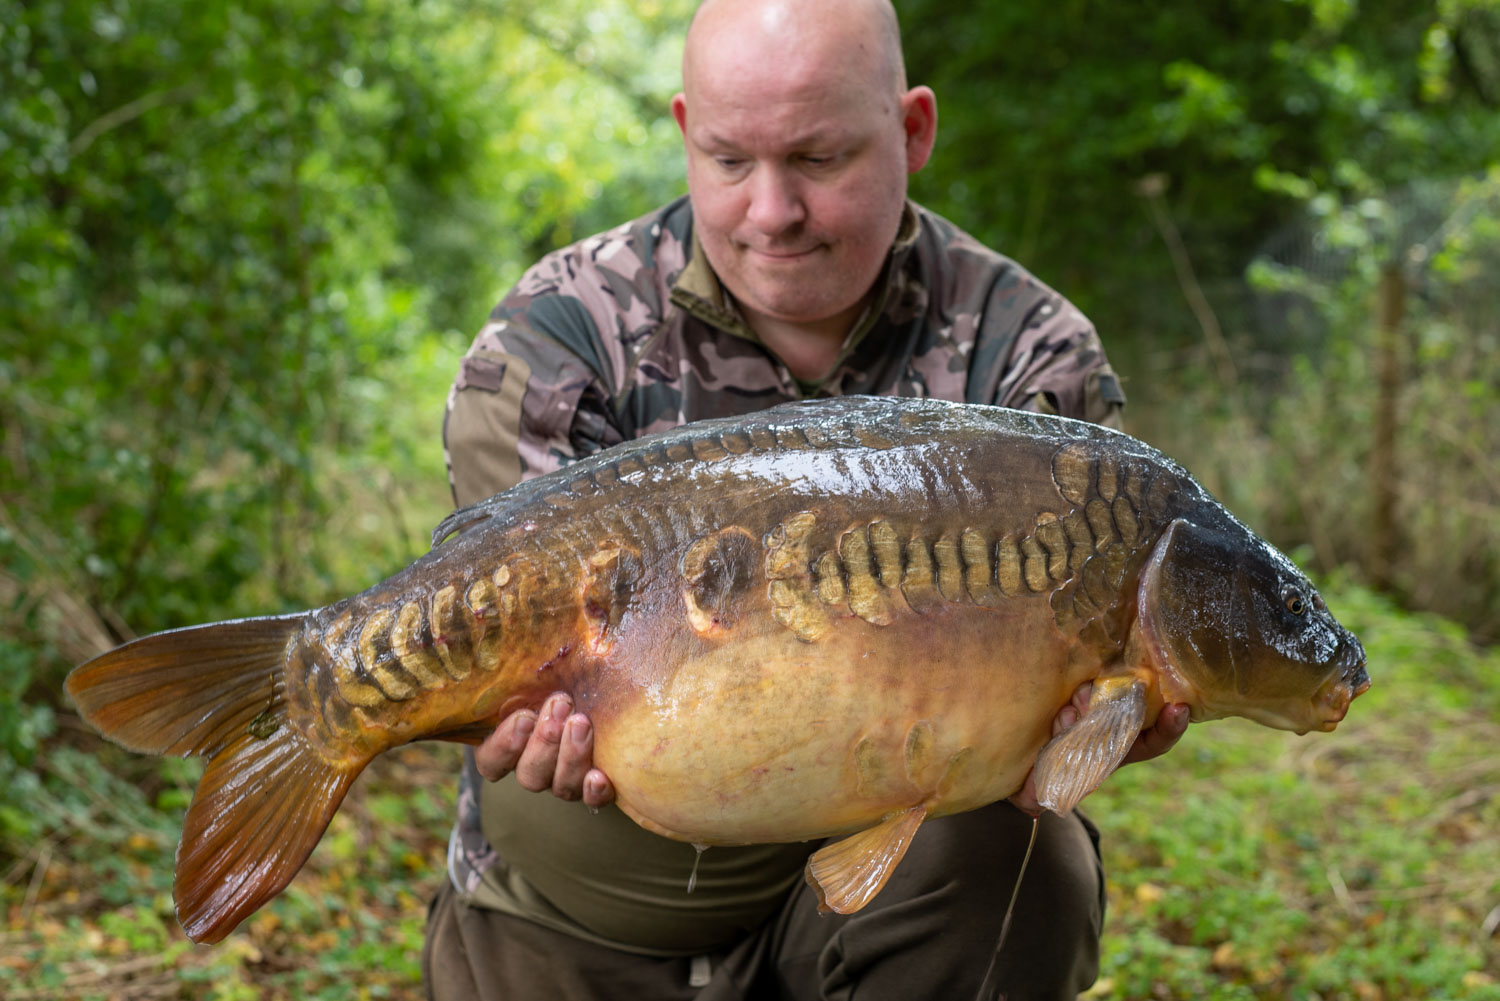
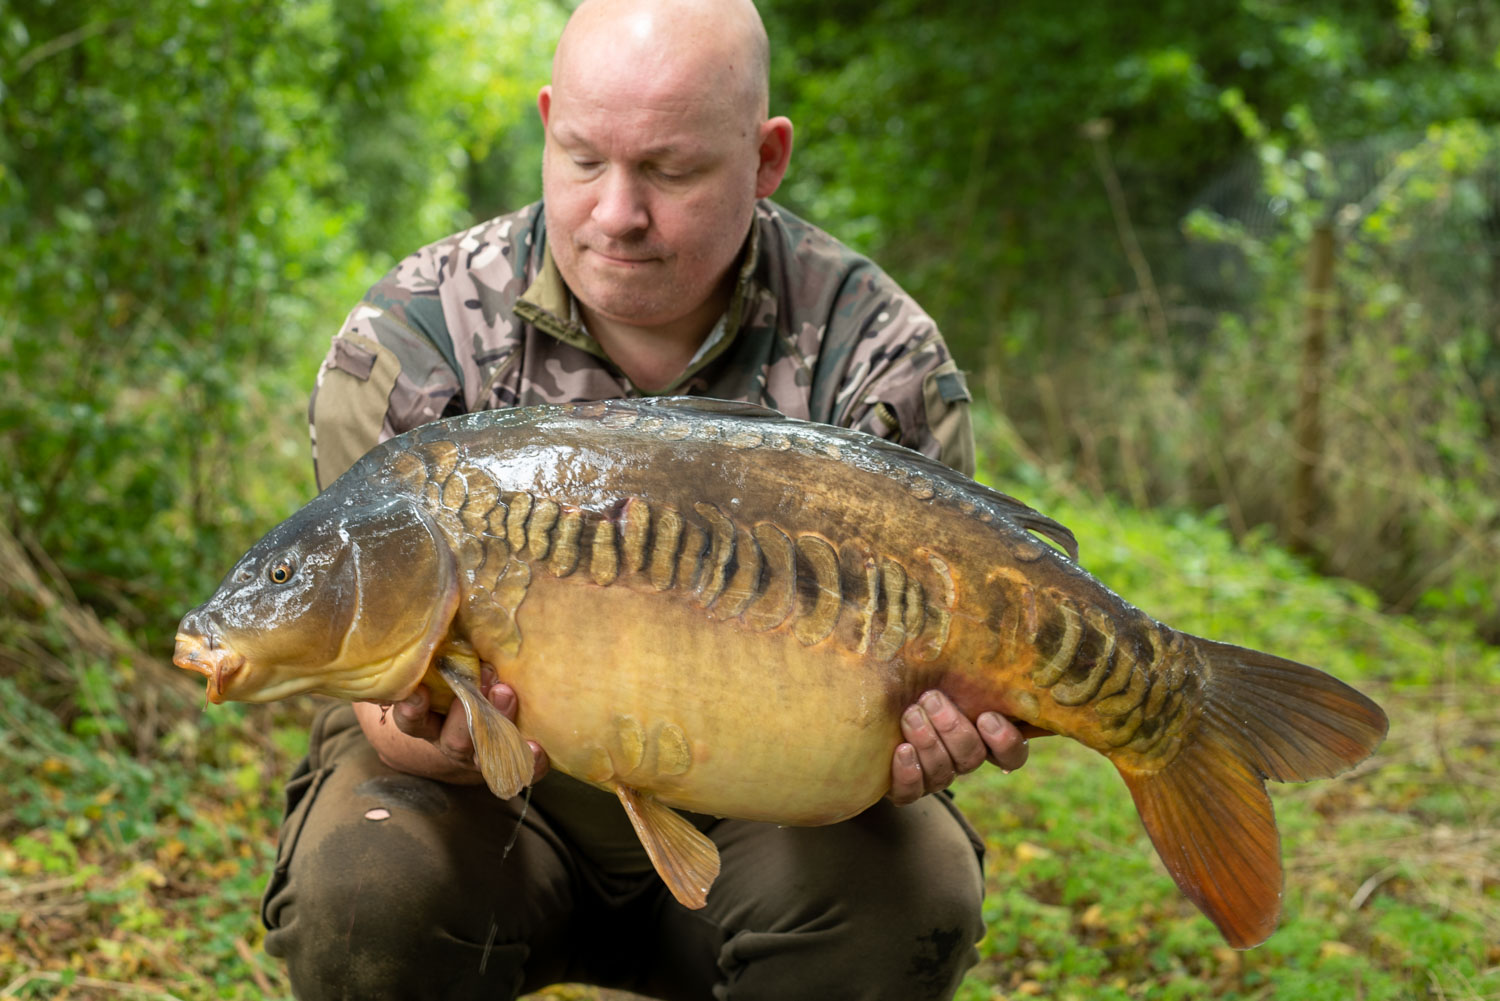
A few weeks ago on my syndicate lake, I was lucky enough to both catch one of the targets and have someone on hand to man the camera, a rarity for me. So I set up the camera, gave him a quick tutorial on back button focusing and proceeded to deal with the fish. But little did I know that I already doomed my shots by royally cocking up the settings..
So this was not his fault at all, not in the slightest, he framed the shots well for a non photographer, much better than most. But unfortunately most of the shots on the bank were blurry and most of the shots in the water were over exposed. All this could have been avoided when I set up the camera with one easy setting but as its an option I hardly ever use it slipped my mind… lesson learnt.
The settings…
What I did was set the camera on aperture priority, the correct choice in my opinion for a novice. I set the aperture to f4, again no problems there, I’m not one of those anglers that holds the fish 3 feet out Infront so f4 usually works fine for me. The issue occurred when I set the iso to 500.
I set it to what I thought was high enough for the lighting scenario, actually a bit higher than what was needed, thinking that it would help eradicate any hand shake from someone who doesn’t usually use a big DSLR. We did do a few test shots so he could practice and all was OK, but I guess the sun dimmed because by the time we were shooting the fish, the camera was working at (unknowingly to me) 1/40sec, which is not fast enough when you have a wriggly fish to shoot. The iso needed to be higher… I asked to check a shot or two but you know what its like when you’re trying to deal with a fish, my concentration was on looking after the old girl and a glance at a 2inch screen wasn’t enough to see the small amount of blur on most of the shots.
You have probably guessed by now what happened when it came to the water shots. An ISO of 500 was too low for the shaded bank and because the gods hate me, it was too high for the well lit water and so the camera couldn’t shoot fast enough and everything was a stop or two over exposed.
So yea, I messed it up. I did everything right instead of one simple setting that would have fixed everything – Auto ISO.
Normally, when I hand over my camera, I simply set everything on auto and just hope for the best, whilst also setting up my iPhone on a tripod shooting video, then I’ve at least got something if all goes tits up. But as this was a buet of a fish I wanted to get as good a shot as possible… well, lesson learnt.
So these are the shots I managed to salvage, (luckily my camera has very good dynamic range.) The water shots were pretty much unusable apart from one that was just about passable as a B&W and one that took some work in photoshop to make half decent. The shots from the bank had more keepers but unfortunately all the shots of me smiling are of me holding a blurry fish, so moody Rob it is..
I would normally include all my setting’s here but the teaching moment is in my mistake not the settings I used. Auto ISO for the win! Well, for this situation anyway.
Tight lines all….

 Previous post
Landscapes Portfolio
Previous post
Landscapes Portfolio
 Next post
Videography Coming Soon!
Next post
Videography Coming Soon!
2 Comments
Hi Rob,
Thank you for the honest reflection its nice.to hear that even the professionals get it wrong sometimes. I have a question.. how do you decide when to make a shot black and white when editing?
Cheers, we all get it wrong sometimes, it’s never an issue as long as you learn. Haven’t made that mistake since…
I normally decide before the editing m8, actually planning the shot for black and white. I generally look for high contrast and a moody or gritty feel to the shot if you know what I mean. Forests look great in b&w, as does most street photography. Also subjects with strong features like deep wrinkles for eg (You can usually set most cameras to shoot in b&w in case you weren’t aware, but you cant change these images to colour after, where as shooting in colour you can choose either..)
With regards to this particular image though, I actually did make the choice at the editing stage (so ignore above 😂) and it was simply down to the colours in the image being terrible to my eye (probably down to them not being shot correctly as explained in article) but I liked the image as a whole. I was finding the colours far too distracting, I remember trying a few things like changing the luminance and saturation but still wasn’t happy so I just removed all the colour completely.
I guess that’s a tip, if you like the image but don’t like the colour try b&w??
I’d also say, I have always found b&w images the hardest to shoot, the image has to have bags of interest or feel cos without colour if it’s a boring shot, it’ll look mind numbingly boring in b&w.
Few things there…… does that help?